Take advantage of Japan’s seasonal ingredients by cooking some traditional spring Japanese dishes!
With the state of emergency looming over Tokyo for the past few months, I’ve found myself in an effortless routine of work-dinner-study-sleep-rinse-repeat. I cook almost every day, usually after work around 9pm right before I take a couple online Japanese classes. Though I love cooking, I often end up sticking to familiar ingredients and recipes while browsing the supermarket gathering ingredients for the week’s meals. It doesn’t help that I try to keep to a budget in an effort to take advantage of the stay home situation and save some money. This means that I’m usually buying cheap veggies (carrots, cabbage, the occasional broccoli) and reduced priced meats. Suffice to say, I’ve grown tired of my weekly yakisobas and stir frys.
One day, I came upon the special section dedicated to seasonal spring veggies at my local supermarket. Looking through the Japanese labels, I could read the hiragana, but I had no idea what they were nor how to prepare them. Deciding that it was too scary, I ventured back to my home turf territory of assorted mushrooms. Beside the mushrooms, however were some packaged bamboo shoots. Being a huge fan of menma (the marinated bamboo shoots often placed neatly on top of an order of ramen), I decided to do a quick google search on some bamboo shoots recipes. Skimming through a recipe, I learned that bamboo shoots were a seasonal spring ingredient. I glance back at the corner of scary unknown veggies. I get an idea. I decide to conquer my fear.
“I’ll make a bunch of seasonal spring dishes!” I thought, and so I ended up hovering around the corner of a grocery aisle googling spring recipes and gathering the ingredients needed to produce these dishes. I chose relatively simple recipes that I think any homecook should be able to replicate!
Takenoko Gohan (bamboo shoot rice)
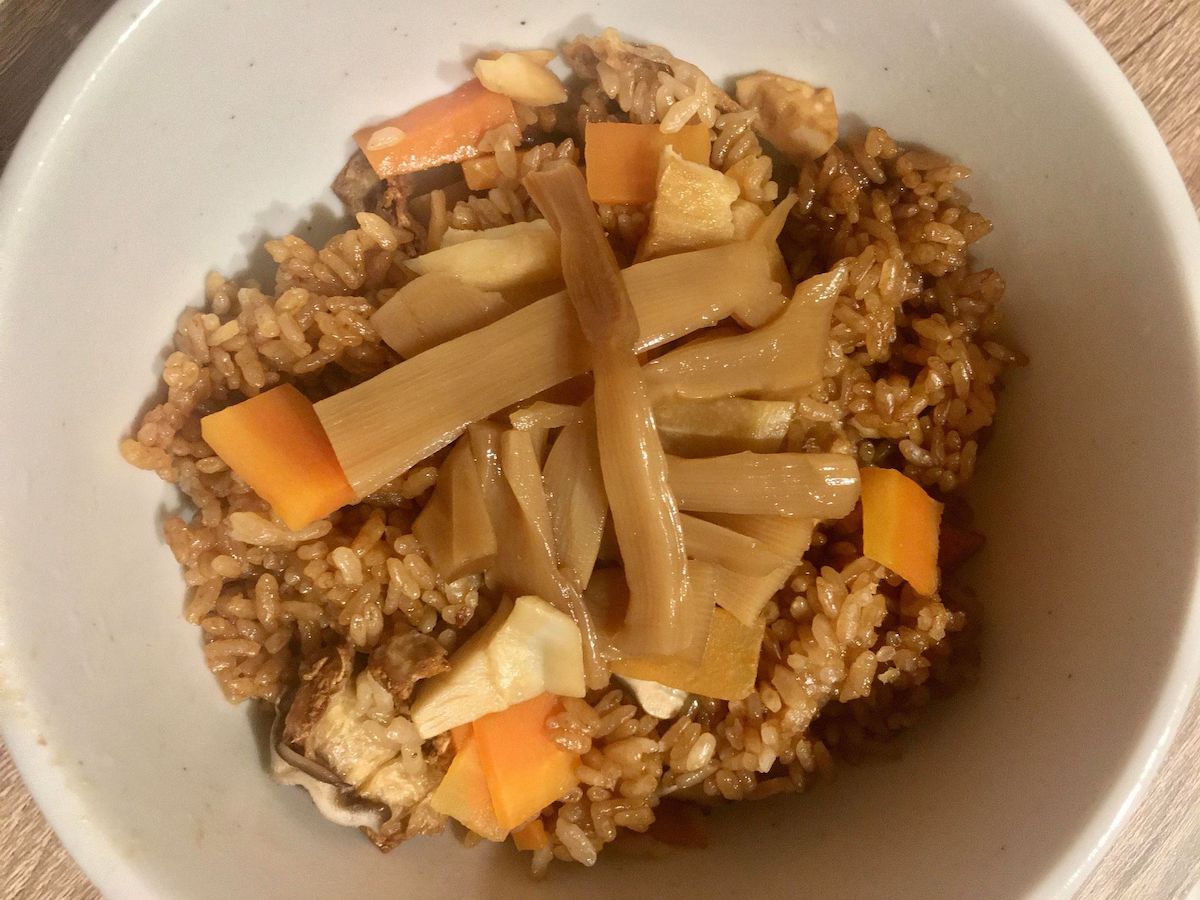
Takenoko gohan was the obvious choice for a bamboo centric dish. Bamboo shoots are crunchy yet silky, and a little sweet. When mixed with rice, the texture really stands out, making it a perfect companion. Combine that with flavours of soy, dashi, and sake and you’ve got yourself a really homey dish. Here’s how I made mine:
Ingredients:
- Short grain Japanese rice
- pack of bamboo shoots
- fried tofu
- carrots
- shiitake mushrooms
- soy sauce
- sake
- dashi powder
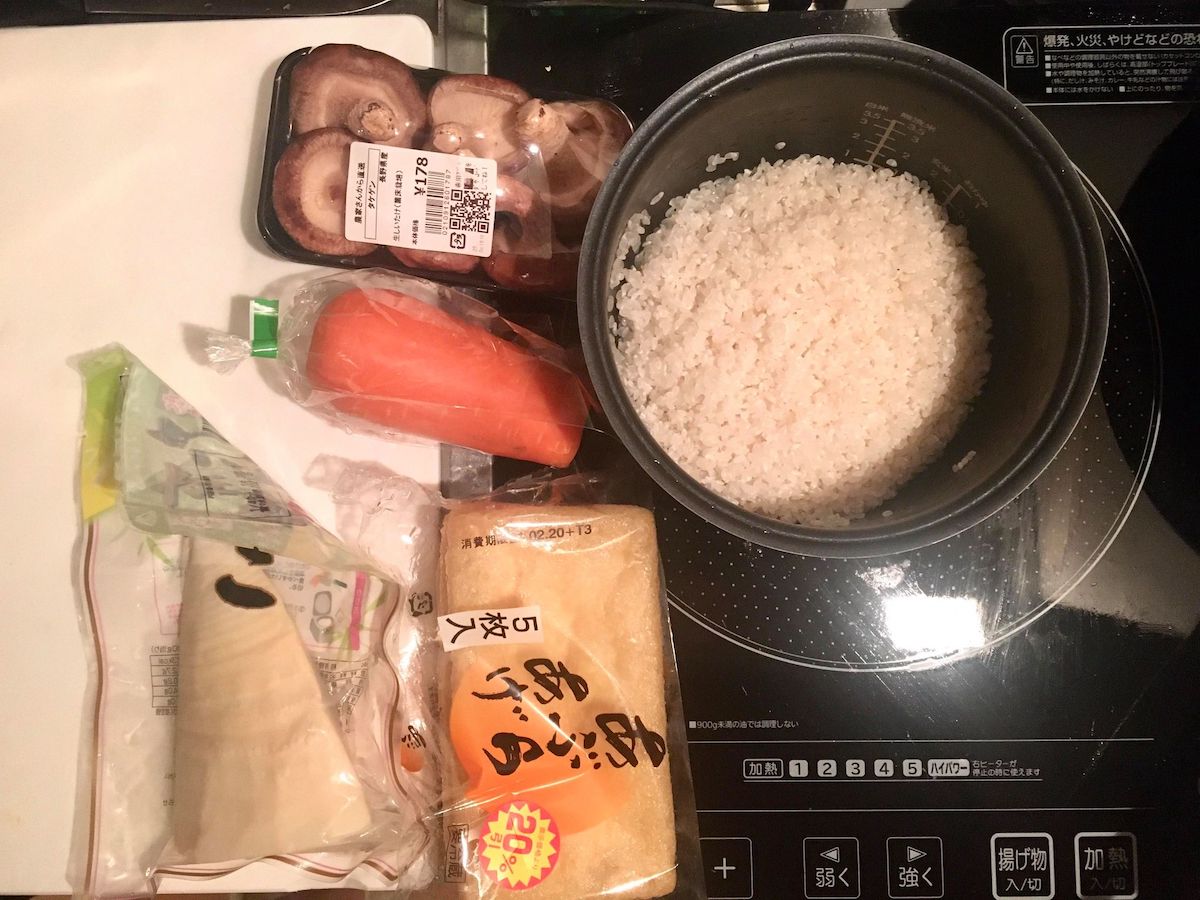
I started by slicing my bamboo shoots, carrots, shiitake, and tofu into thin slices. I’m personally not a very good recipe follower, and usually eyeball ingredient amounts instead. For this recipe, I would overestimate the ingredient amounts rather than underestimate. The worst possible scenario is too much rice and not enough goodies, while the opposite doesn’t seem so bad. Then I measured out 2.5 cups of rice, gave it a rinse until the water ran clear, and added the appropriate amount of water into the rice pot.
Then I threw in a good amount of dashi powder (5 shakes worth), soy sauce, sake, and a little bit of salt. I gave it a little mix with my hand to make sure it’s eventually distributed through the liquid. Then, I placed the rest of the ingredients on top, layer by layer. It went: fried tofu, bamboo shoots, carrots, shiitake. I threw my pot into my rice cooker, pressed the “cook” option, and 40 mins later I was rewarded with a hearty bowl of dashi-soy flavoured bamboo shoot rice. Be sure to give it a good mix with your rice paddle before serving as most of the sliced ingredients will still be sitting on top. I topped mine off with a little bit of leftover menma that I had sitting in the fridge.
I will admit I didn’t choose the best quality bamboo shoot I could find due to the price, but after making this, I highly recommend going with something of a better quality (and therefore more expensive). Though it was still delicious and incredibly flavourful due to the soy and dashi, I could tell that the bamboo shoot I had used was a little lacking in bamboo-y flavour.
Asari no Sakamushi (Steamed Asari Clams with Sake)
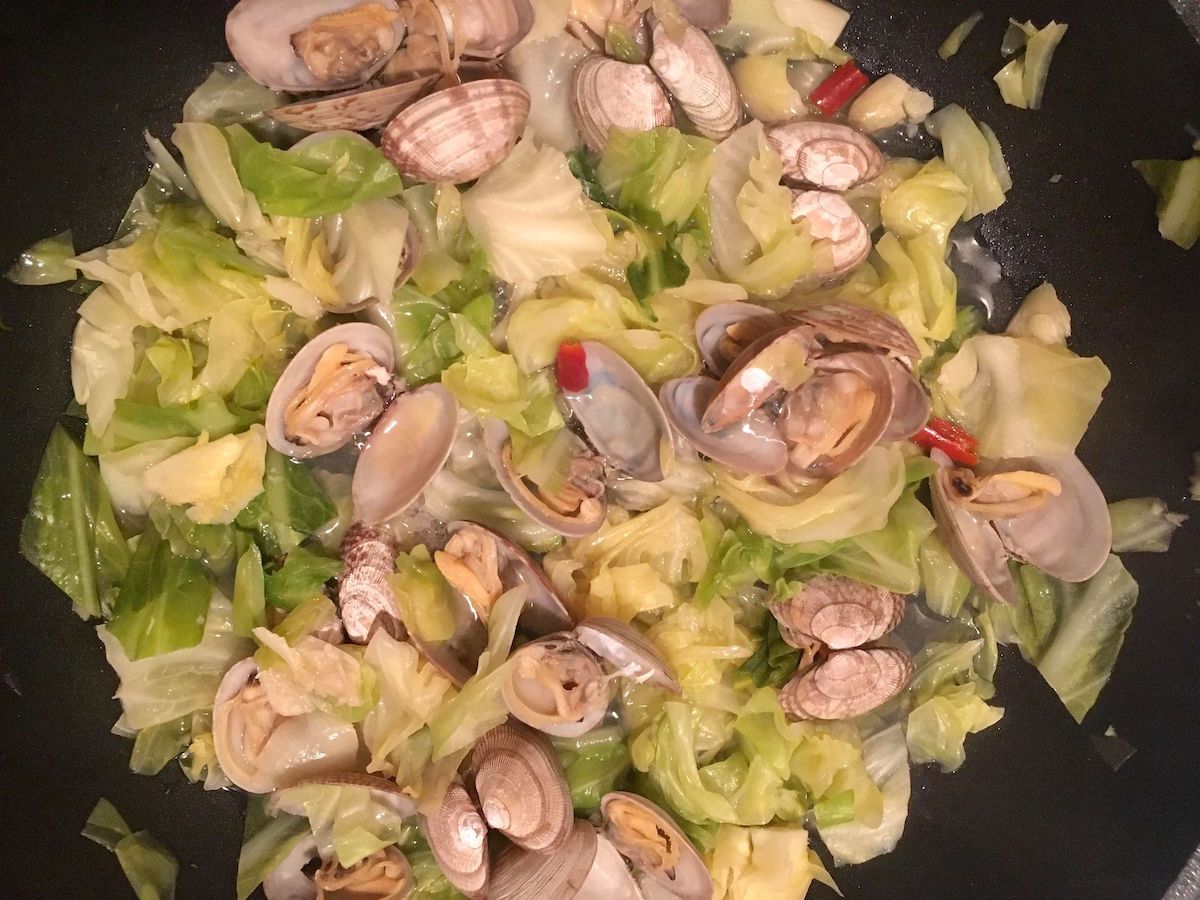
My mom’s side of the family is from Hong Kong, and there’s this amazing stir-fried black bean sauce clam dish that I’ve loved since growing up. Asari clams are another spring speciality here in Japan, and are incredibly versatile. You can use them in soups, stir frys, and even pasta dishes. Clams are probably my favourite shellfish, and I’m happy to report that I’ve found an equally amazing dish that highlights the clams’ flavours in true Japanese fashion. This dish is the definition of letting the ingredient’s flavours shine simply by not doing too much. I also decided to add some cabbage in order to give it some heft. Here’s my recipe:
Ingredients:
- Asari clams
- half a head of cabbage
- two cloves of garlic
- chilli pepper
- sake
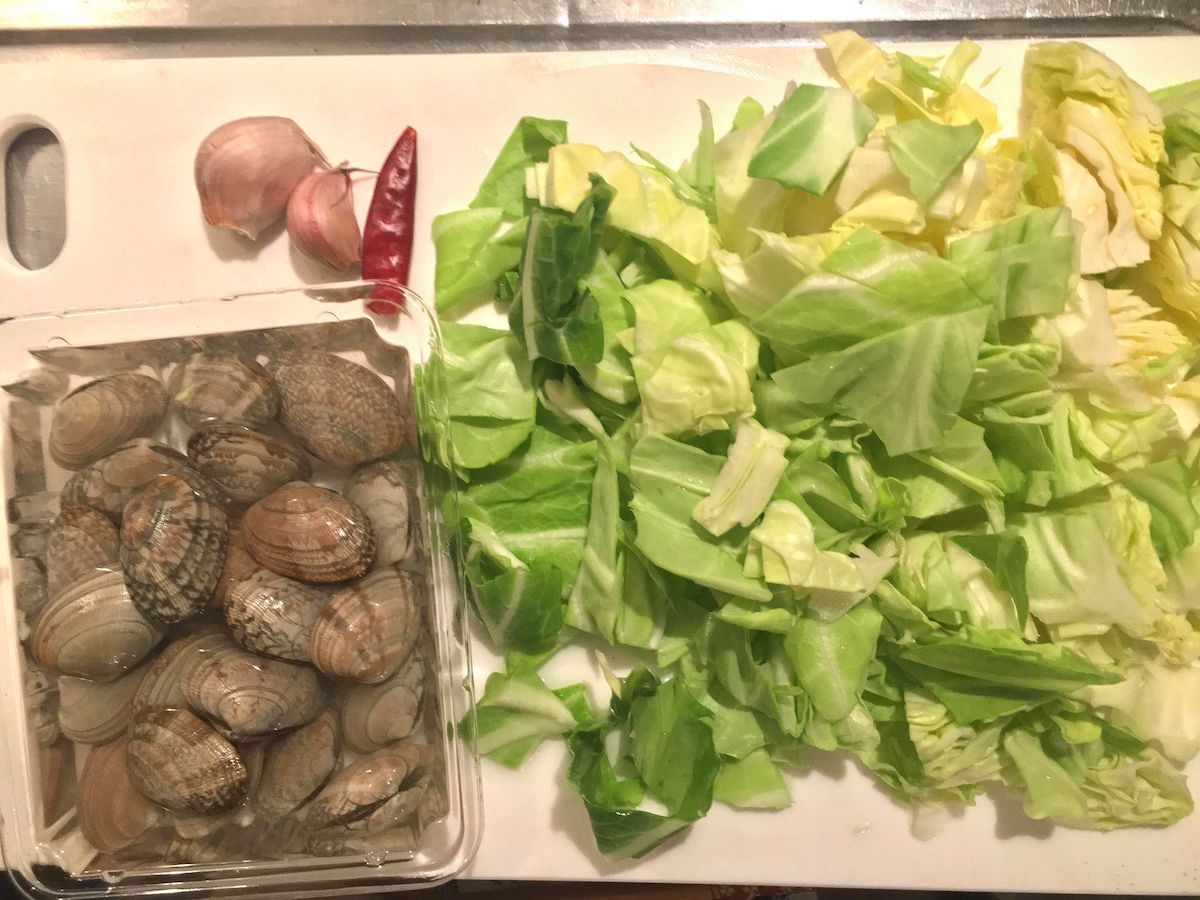
I began by soaking the clams in some cold water with lots of salt in an attempt to degrit them. There’s a much longer and complicated way to ensure total degritizization (is there a noun form of the word “degrit”?) but I only had an hour to prepare for dinner that day, and did the best I could do. I chopped my cabbage into even squares, smashed two cloves of garlic and sliced them roughly, and set aside a chilli pepper. To start the cooking process, I fried my cabbage in a dry pan to get it started and get a little char on it. After a little bit of wiltage, I threw in my garlic, chilli (which I ripped into smaller pieces), and my clams. I squeezed in some sake (5 seconds) from my bottle, eyeballed some salt, and closed the lid. I mentally set an alarm in my head for 10 mins. When my mental alarm went off, I opened the lid and was greeted with opened clams bathing in a delicious smelling sea of sake and garlic. The best part about using cabbage is its ability to soak up juices instantly, making it insanely flavourful. I was honestly pleasantly surprised after my first bite, and will definitely be making this dish again while it’s still spring!
For next time, I might try throwing in a cube of butter to finish it off at the end for some extra savouriness, or using better quality drinking sake to see what types of flavours will come through with the clams after cooking.
Sansai Tempura (Mountain Vegetable Tempura)
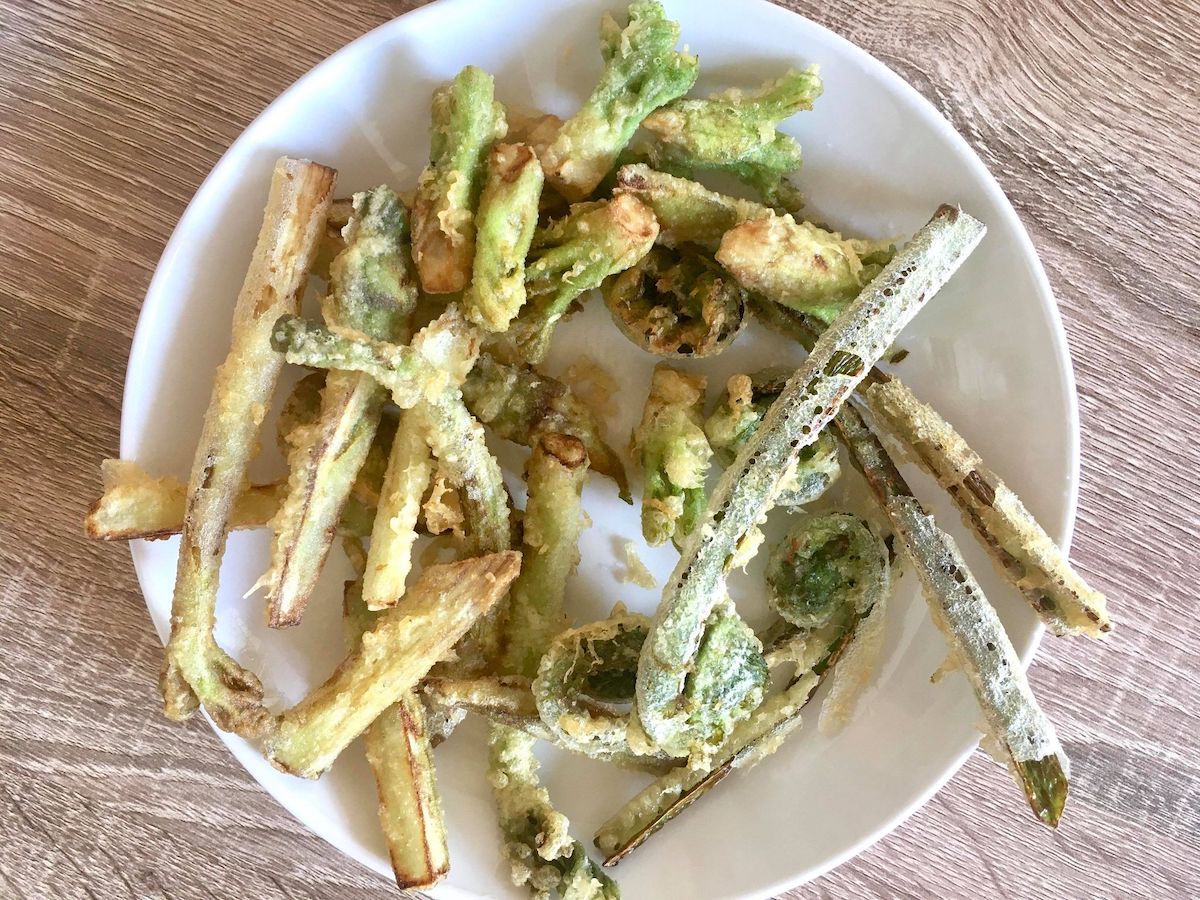
We’ve finally arrived at the scary vegetable section of this blog. I browsed through the section and picked three types that had ‘tempura’ listed as suggested cooking methods. The big long stick is called ‘yama udo’, meaning mountain asparagus; the little round guys are ‘tara no me’, which are fresh shoots of the ‘angelica’ tree plant; the alien-antennae thingies are called ‘kogomi’ or ‘ostrich fern’, and is perhaps one of the more easily recognizable of the mountain veggies. Here’s how I prepped for my tempura.
Ingredients:
- Yama udo
- tara no me
- kogomi
- tempura batter
- mentsuyu
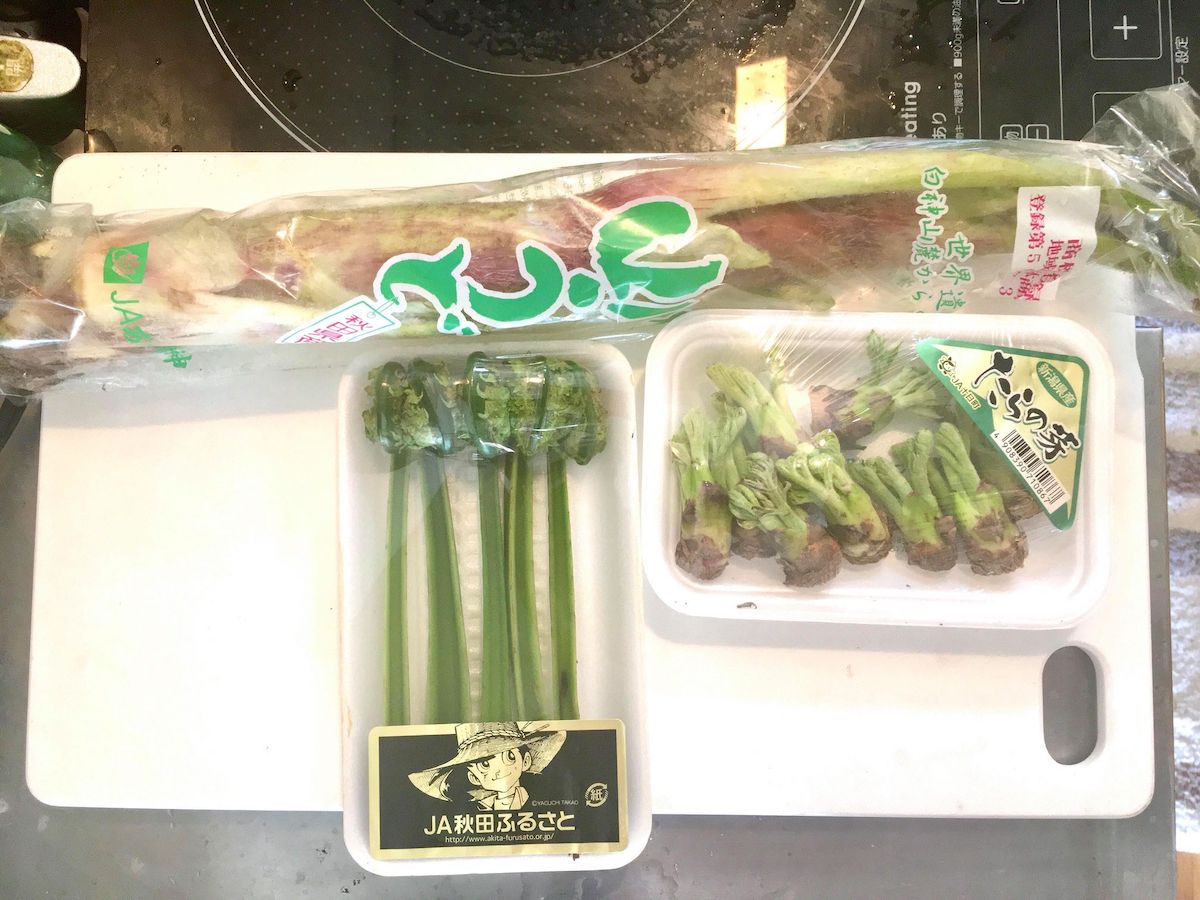
I began by prepping my veggies. I seriously had no idea what to do. The yama udo had a fuzzy layer that my gut told me I should shave off. Turns out it wasn’t necessary so I cut off the leafy parts, sliced a few of the root ends, and saved the rest for another dish. For the tara no me, I peeled off the outer layer and made sure none of the brown dirt is left. I left the kogomi as is. Perhaps some purists will insist on making their own tempura batter, but I’ve noticed that packaged batter in Japan often comes out tastier than their homemade counterparts. I wanted to follow the instructions on the bag for batter to water ratio but I had no measuring equipment and so I eyeballed it once again. My eyeball hasn’t failed me yet thus far. I poured in enough water for a slick thin-but-not-too-thin consistency. I poured heaps of vegetable oil into my pan and waited for it to heat up. I coated my veggies bit by bit in the batter before slowly lowering it into the hot oil, doing it in batches so as not to lower the temperature too much. Between batches, after it would get too hot, I would add a bit more oil to bring the temperature down a little, and also scooped up as much of the leftover tempura bits floating around to avoid burnt bits sticking to my fried veggies. I eyeballed (yay, eyeball!) the doneness, mostly taking it out of the oil when the batter had turned a nice golden brown. I had no idea if the veggie inside had been cooked or not, but I prayed to the mountain gods for it to be okay. I sprinkled a little bit of salt on them as they were resting on a paper towel, and served them with a side of water-diluted mentsuyu.
The results were pretty delicious. All veggies were perfectly soft on the inside with a crisp, yet light tempura batter coating on the outside. I was pleasantly surprised at how everything turned out as I’ve always been one of those people who are afraid to deep fry at home. The tara no me and kogomi had a very mild, somewhat indistinguishable flavour, but the yama udo had a pleasant anise-ness to it. I’d say more so than flavour, these veggies shone through their textures. For next time, I’d like to try pickling or simmering these mountain veggies instead. (PS. I read later on that I should’ve done more prep in order to reduce the astringency or bitterness of these veggies, such as parboiling or soaking them beforehand. I did not really taste these off-flavours even though I hadn’t done the proper prepwork, so proceed at your own caution).
Cooking with spring ingredients was a fun experience, so I’m also looking forward to the summer season where I can try out some more traditional Japanese dishes with some summer seasonal ingredients!


