Experience Japanese calligraphy for the first time at Wa-Pen in Asakusa. Learn how to create your own kanji design and print it on a t-shirt during this beginner-friendly cultural activity in Tokyo.

Experience Japanese calligraphy for the first time at Wa-Pen in Asakusa. Learn how to create your own kanji design and print it on a t-shirt during this beginner-friendly cultural activity in Tokyo.

I tried Japanese calligraphy for the first time with my husband at a small studio in Asakusa called Wa-Pen Calligraphy. It’s a shop that offers hands-on calligraphy experiences for beginners, and they also let you design your own t-shirt with your chosen kanji. It’s not a very big place, but it’s organized and has everything you need for the session. We didn’t know exactly what to expect, but it ended up being a good mix of learning, practicing, and taking home something useful.
We booked the experience in advance and arrived in the morning. Two people were there to assist us—Kenji, the owner, and Yudai, one of the staff. They let us in right away, and we went straight into choosing our shirts. The original idea was to bring our own plain t-shirts to paint on, but since we forgot, we just asked if we could buy some from the shop. They were selling t-shirts for 3,000 yen each, and the price included the shirt and printing of our design. They had a few colors to choose from black, white, and pink and multiple sizes. I chose a pink shirt, and my husband picked black.
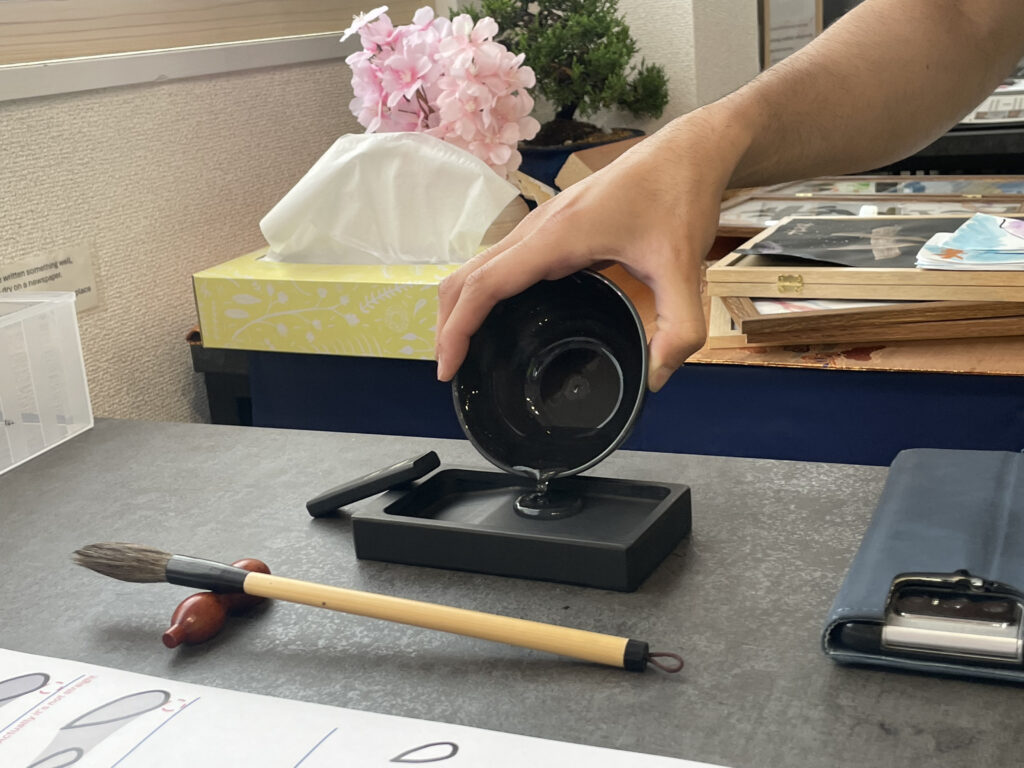
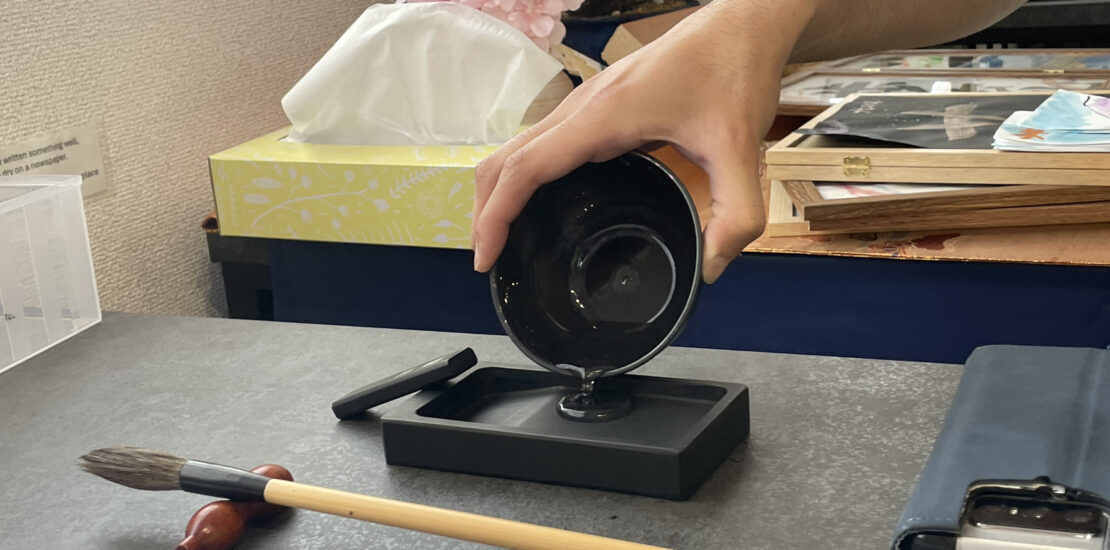
Once we chose our shirts, they gave us a short introduction to Japanese calligraphy and how the session would go. They handed us calligraphy brushes, pre-mixed black paint, and tracing paper with various kanji characters. Usually, in traditional calligraphy, the ink is made by grinding a black ink stick on a stone with water. But since the session was relatively short, they gave us ready-made paint to save time. They also gave us a thin booklet that had several common kanji options, like 花 (flower), 桜 (sakura), 愛 (love), 美 (beauty), 心 (heart), and 光 (light).
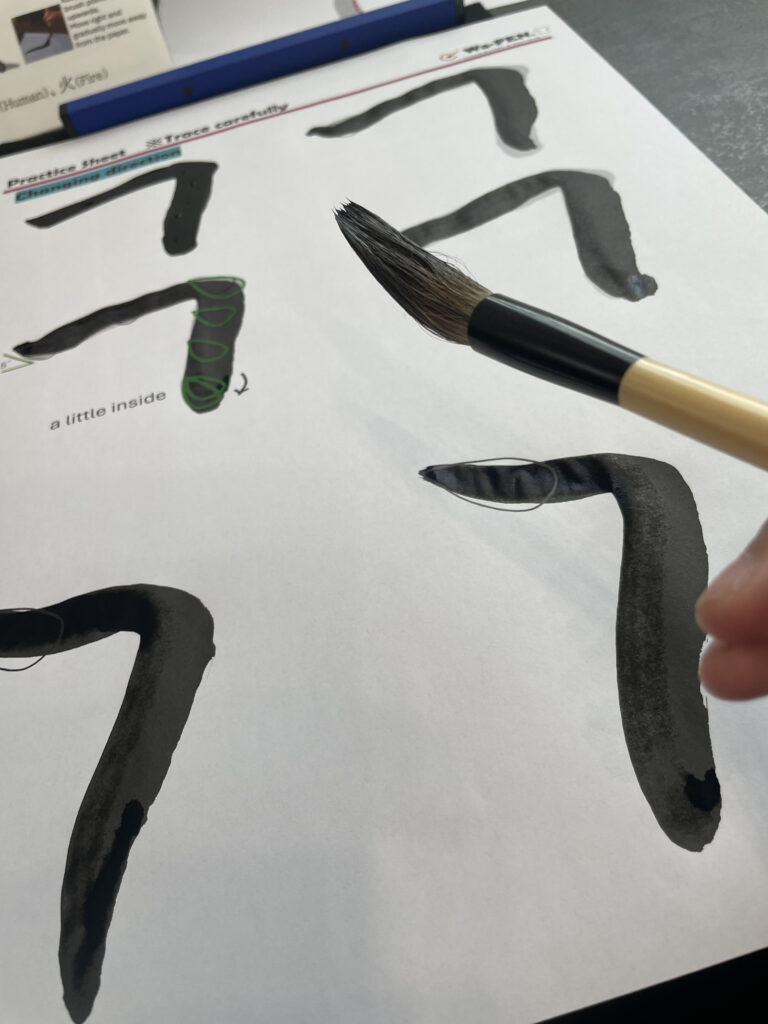
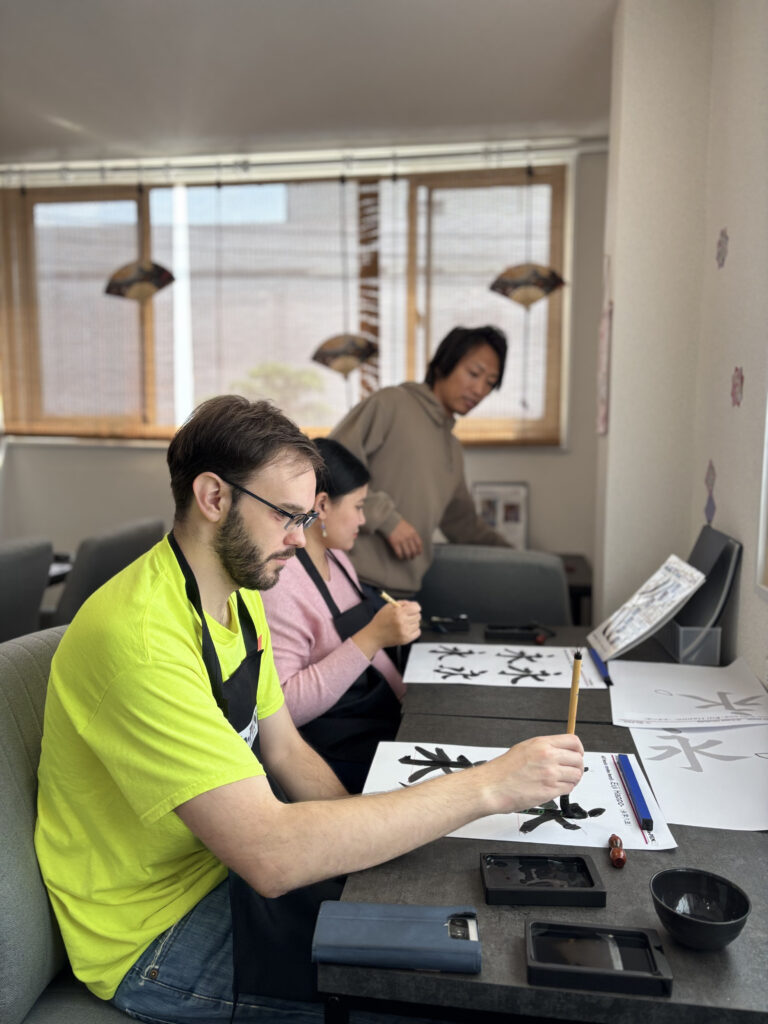
The practice sheets were helpful because you don’t go straight into painting the final version. First, you practice your brush control and try to follow the stroke order. Each stroke has to be done slowly and with some pressure. The brush itself was soft, so it wasn’t easy to control at first. But Yudai guided us step-by-step. He pointed out what to fix, helped us correct our posture, and explained the meaning and structure of the kanji we were using. It wasn’t a formal lecture or anything. It was casual, and we were free to ask questions and take our time. He also chatted with us while we worked, so it didn’t feel too serious.
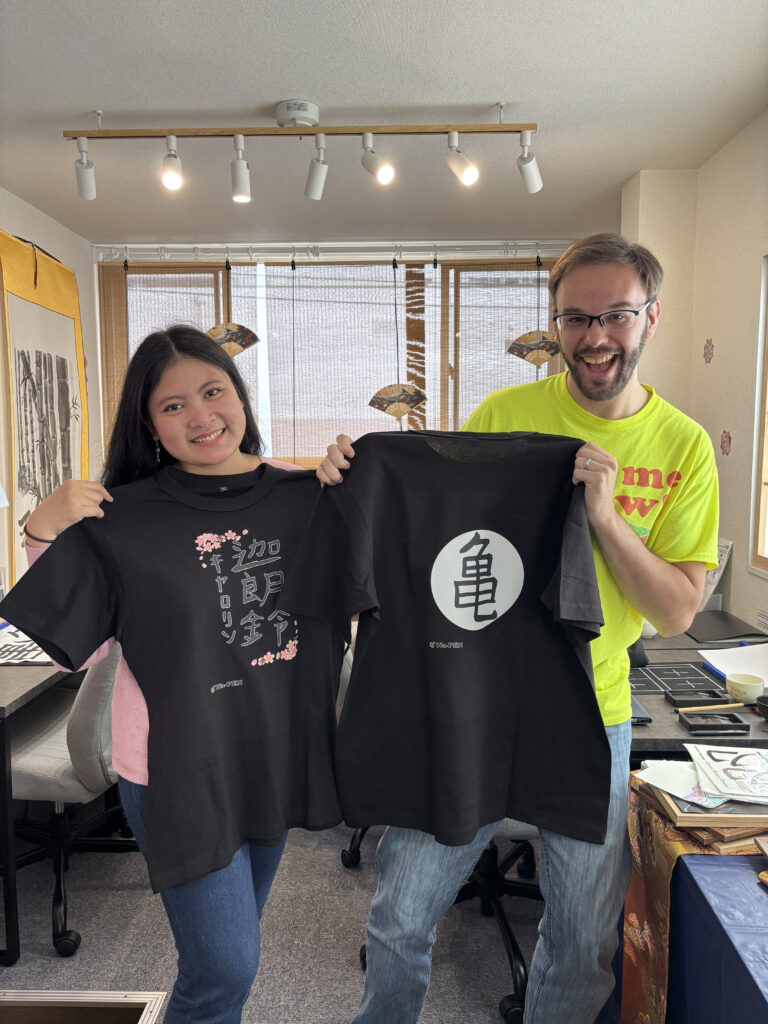
Once we got through a basic set of kanji practice sheets, we moved on to deciding what to paint for the shirt design. There was a full binder of kanji samples, and you could pick any one of them to use for your final artwork. But instead of choosing from the booklet, I asked if it was possible to write my name, Carolyn, in kanji. Even though foreign names aren’t typically written in kanji and calligraphy, Kenji made a custom version for me, using kanji that matched the pronunciation and had nice meanings. He also added my name in katakana next to it.
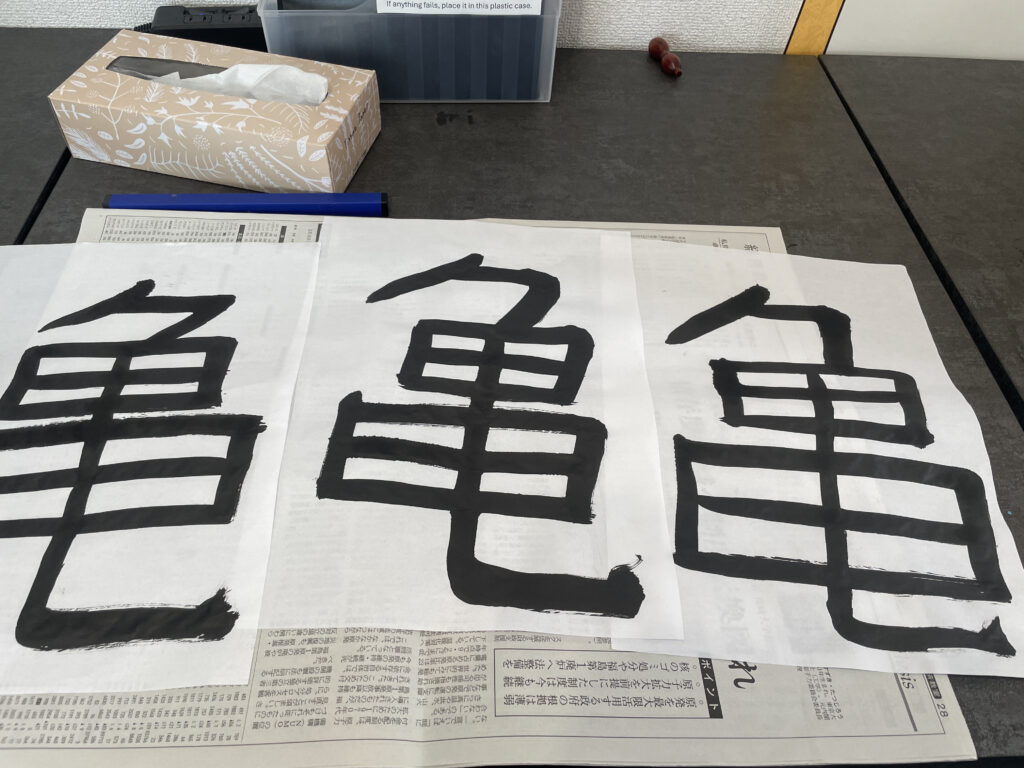
My husband picked something a little more playful. He asked for the kanji for “turtle,” because he likes turtle-themed characters in Pokémon. Yudai found the kanji for “kame” (亀) and explained how to write it. It’s a bit more complex than the others, but he practiced until he was confident enough to paint it onto the final sheet.
After we completed our final artworks on special transfer paper, Kenji, the owner, took over and started preparing the prints. He handled the printing process in the back while Yudai stayed with us and continued talking to us about calligraphy, the shop, and how they started offering these sessions. While waiting, they also gave us cups of green tea and told us to sit and relax.
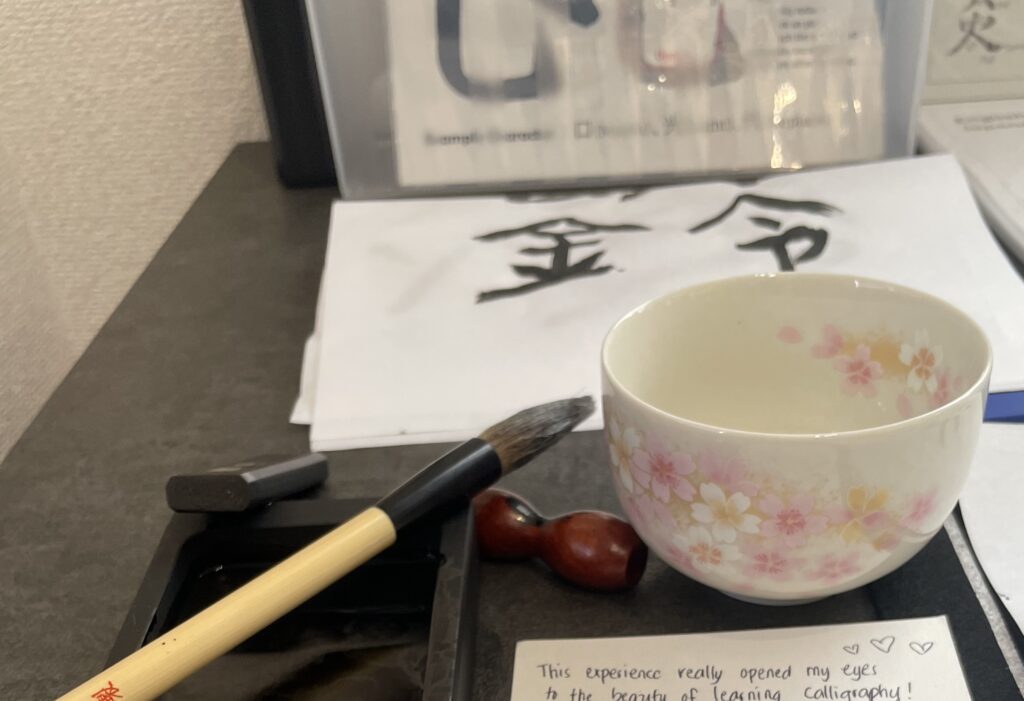
While the shirts were being made, they handed us postcards with a blank space for a short message or drawing. We were told we could write anything on it, and they would send it to our address later as a souvenir. It’s a small addition to the workshop, but it gives you something to look forward to after the session.
After about 20 minutes, our shirts were ready. They handed them to us in clear packaging, neatly folded, and the print came out clean and sharp. The kanji designs we painted had been transferred directly to the fabric, and it was nice to see our actual work turned into something wearable. My shirt had my custom kanji for Carolyn, and my husband’s shirt had the turtle kanji, exactly how he painted it.
At the end of the session, we paid 6,000 yen total for the two of us, which included both shirts and the full calligraphy experience. For the price, we got several things—a short intro to calligraphy, guided practice, custom kanji design, and printed shirts that we can use or keep as souvenirs.
Overall, the session was easy to follow even for complete beginners. You don’t need any background in Japanese calligraphy or art. The staff are very patient, and the instructions are in English, so there’s no issue with communication. If you’re interested in Japanese culture and want something hands-on, this is a solid choice. It’s beginner-friendly, it’s affordable, and it’s different from the usual sightseeing or shopping.
The shop is located in Asakusa, not too far from the main station or Sensoji Temple, so it’s convenient to include in your day if you’re already exploring the area. Just make sure to book in advance if you’re going on a weekend or holiday, because the shop is small and can only take a few guests at a time.
If you’re visiting Tokyo and looking for a relaxed, creative activity, Wa-Pen Calligraphy is definitely worth checking out. Whether you want to paint a simple kanji or have your name done like I did, you’ll leave with something personal and unique.
Stay tuned for more exciting content like this! Follow us on our social media platforms and check out our blog regularly to stay updated on the latest news, trends, and insider stories from Japan. Don’t miss out on future updates—sign up for our newsletter for exclusive content delivered straight to your inbox!